第一步:先画玻璃圆泡
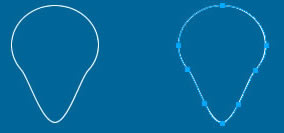
1. 先画一个88*80大小的椭圆,无填充,描边
然后用钢笔添加锚点,位置如下图(尽量对称)

2. 然后用部分选定工具,把最下面中间的锚点往下拉(按住shift可垂直下拉),完成后高度约118。然后再添加锚点如下。
3. 用部分选定工具将图形拖拽成下图形状(这一步要看大家的钢笔和形状的功底了,呵呵)

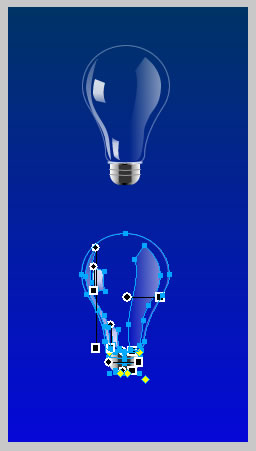
现在,圆泡部分已经完成了,接下来是添加高光。
第二步:高光及折射
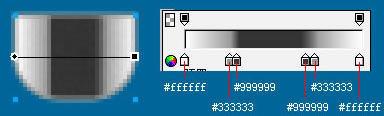
1. 先用钢笔勾出如下几个图形(这几个图形主要根据圆泡的形状来制作),然后都不要描边

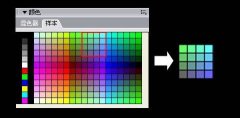
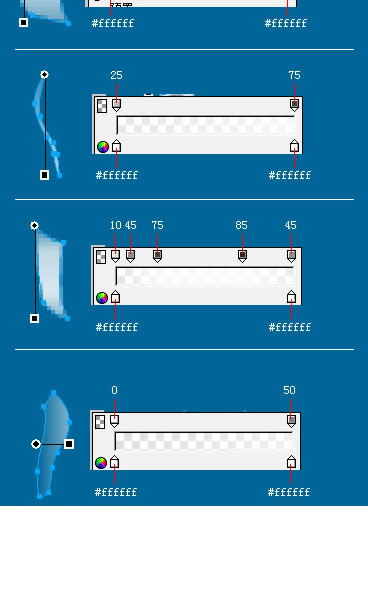
填充采用线性渐变,具体设置如下:
OK,高光部分算是完成了。
第三步:制作金属头
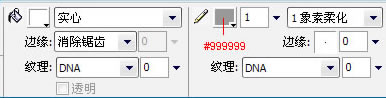
1. 先画一个30*21大小的圆角矩形,各项属性如下:

2.调整矩形属性,先放大到400%(放大方便调整,倍数自便)
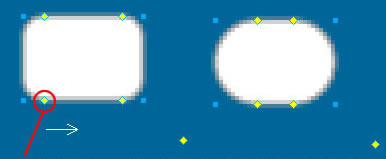
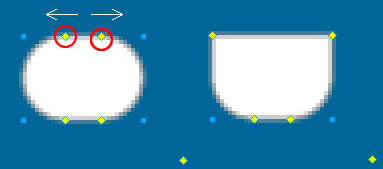
用鼠标拖拽此点向右,使圆角到最大,然后按住Alt不放,分别用鼠标拖拽上方的两个黄点向一旁,使上方的角成直角。
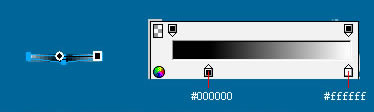
然后调整填充为线性渐变
3.给图形增加数量为“1”的杂点
第四步:细节调整
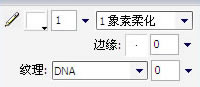
1. 画一条长34,宽2的柔化直线,在中间用钢笔加一个锚点,并用部分选定工具向下拉1个像素。

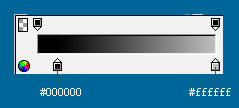
2. 画一个18*2的矩形,在上下两边的中间各加一个锚点,向下拉1个像素,去掉描边,填充用条状渐变。
3.同样再画一个18*2矩形,步骤同上,向下拉2个像素
4.画两条32长宽2的柔化线条,在中间加锚点并向下拉2个像素,颜色为#999999。

5. 组装:
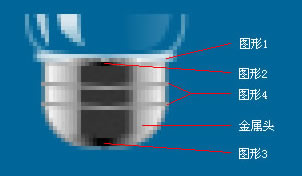
6. 然后将整个金属头与玻璃圆泡结合起来,然后将圆泡的线条透明度改为35,OK,大功告成!

源文件:

总结一下,其实这个灯泡完全是我拿着一个真的灯泡照着画的(高光可能会因环境因素有一定差异),但是遗憾的内部的钨丝还在琢磨中,呵呵